Installing Hass.io on a Raspberry Pi 3B
|
- Download the appropriate image for the
Raspberry Pi 3
- Flash the downloaded image to an SD card using Etcher.
- Optional - Setup the WiFi or static IP: On the SD-card, edit the system-connections/resin-sample file and follow the ResinOS howto.
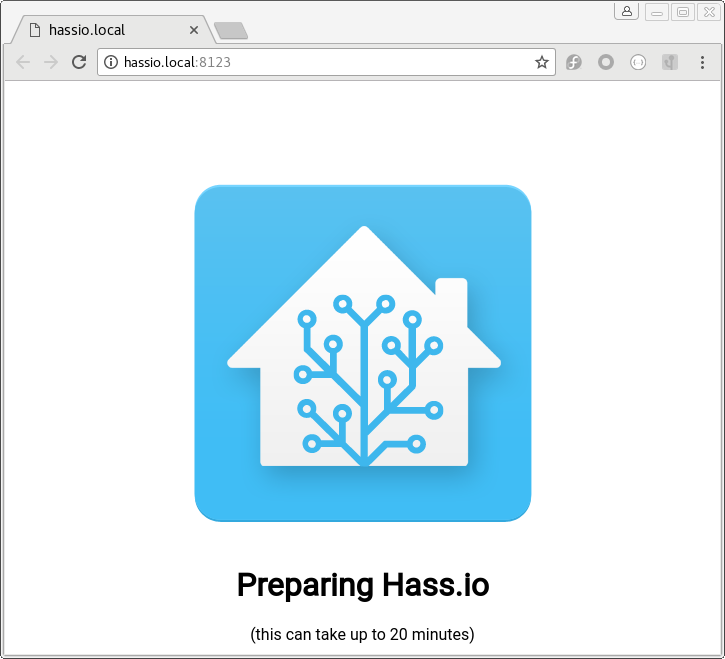
- Insert SD card to Raspberry Pi and turn it on. On first boot, it downloads the latest version of Home Assistant which takes ~20 minutes (slower/faster depending on the platform). After that you should see a screen like this if you go to http://hassio.local:8123
- Enable either the Samba add-on or the SSH add-on to manage your configuration in /config/ (From the UI choose Hass.io which is located in the sidebar).
|
Installing Hass.io on an Intel NUC
|
|
Installing Add-ons in Hass.io
|
Add-ons are quick easy ways to get components running in Hass.io. There are additional 3rd party add-ons that can be accessed by adding these repositories:
Let's Encrypt:
- Don't use this add-on if you use DuckDNS.
- DuckDNS:
- Start it up. Then change the token and domain names to your duck dns info from their website. Domain is "xxx.duckdns.org".
- End result is:
- {
"lets_encrypt": {
"accept_terms": false,
"certfile": "fullchain.pem",
"keyfile": "privkey.pem"
},
"token": "039f403f-9b04-4c39-8fa9-6c745ea42046",
"domains": [
"3m0.duckdns.org"
],
"seconds": 300
}
Mosquitto:
- It's automatic but after running the add-on installer the config should be:
- {
"plain": true,
"ssl": false,
"anonymous": true,
"logins": [],
"customize": {
"active": false,
"folder": "mosquitto"
},
"certfile": "fullchain.pem",
"keyfile": "privkey.pem"
}
Samba share:
- It's automatic but after it runs the config should read like:
{
"workgroup": "WORKGROUP",
"name": "hassio",
"guest": true,
"map": {
"config": true,
"addons": true,
"ssl": false,
"share": true,
"backup": true
},
"username": "",
"password": "",
"interface": ""
}
InfluxDB:
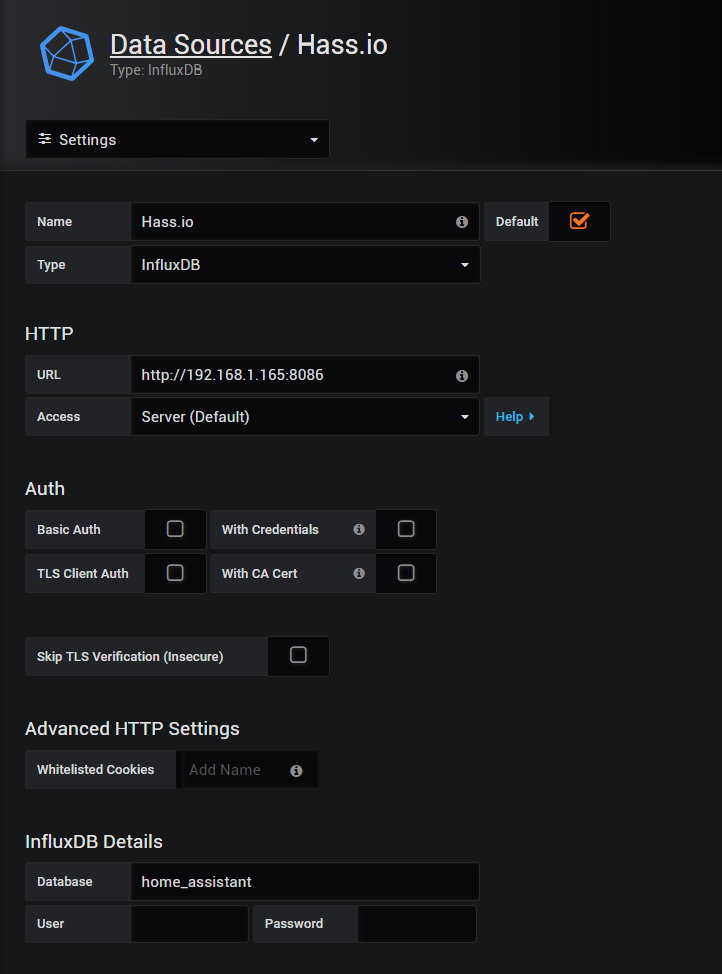
Grafana:
- Add data source:
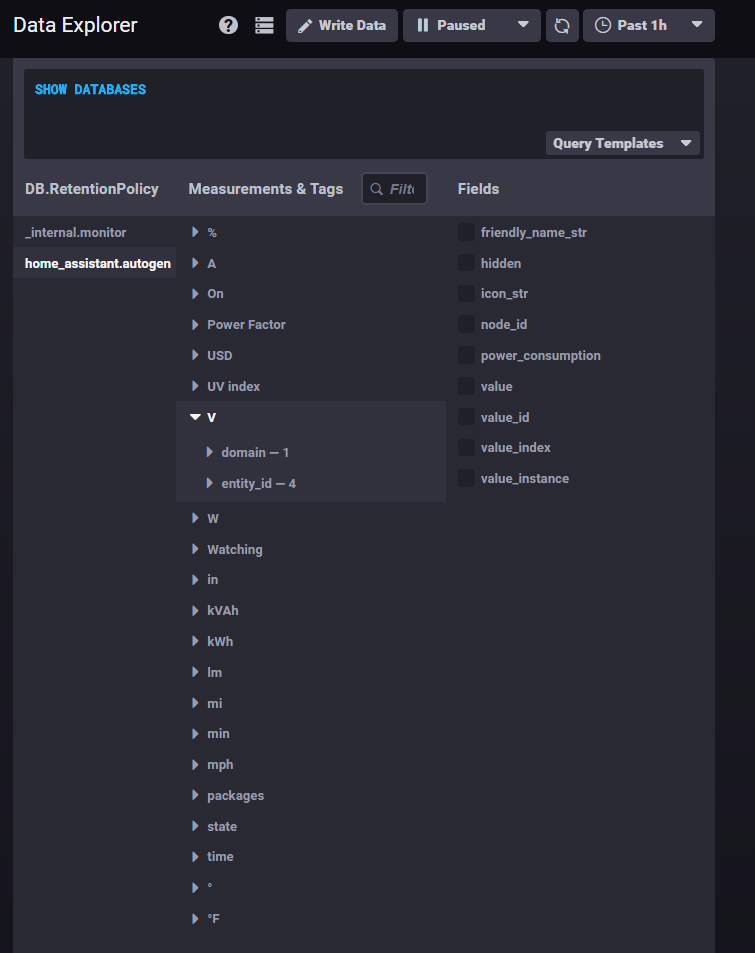
 - Then click on Data Explorer and you should see stuff like this:
|
Installing Components in Hass.io
|
Components are designated for an individual line of products and sometimes require some setup.
Setting up the Wink component with SSL:
Change your port forward your router from 443->8123 to 8123->8123
Make sure the url on the wink dev site is http://192.168.1.xxx:8123/auth/wink/callback
In configuration.yaml
a) set base_url to http://192.168.1.xxx:8123
b) comment out the ssl_certificate and ssl_key lines
Reboot HA
Click on Configure link in the Wink panel of HA
Log into Wink
Boom, it works
Undo the port forward and the change to configuration.yaml
Reboot
|
Installing a Z-Wave thermostat (GoControl / Linear GCTCZ48)
|
- Put this in your conguration.yaml :
- On the HA front end, click Configuration > Z-Wave > Add Node
- Now that HA is in z-wave inclusion mode, take the face plate of the Go Control thermostat and bring it next to your Z-Wave hub (in my case, Aeotec Z-Wave USB stick). Go to the settings on the thermostat and select Z-Wave and start. It will say if pairing was successful. If it was, put the thermostat face on the wall, come back to Home Assistant Z-Wave screen and click the 'Heal Network' button.
- Restart Home Assistant and once it detects your Z-Wave device, you should see some new entities created in your entity_registry.yaml. You can edit the names to make them shorter and easier to work with:
|
Hass.io Settings
|
Where you can view which USB and other devices are attached to your Pi, NUC, etc.
- HASS.IO > SYSTEM > Host System:
|
Installing a Yeelight Lightstrip
|
Put this in your lights.yaml :

|
General Tips & Tricks
|
#1 - The easiest way to tell if a sensor type is numeric is to use the template developer tool.
Enter a template like this :
{{states.sensor.dark_sky_cloud_coverst.state > 0}}
If the result pane shows true or false, then you are dealing with a number.
If it is blank, then you are not dealing with a number.
#2 - SSH Commands:
Downgrading versions:
#3 - Accessing HA if SSH, Samba, front end aren't working:
|
RSS feed of HA data in Kodi
|
https://community.home-assistant.io/t/rss-feed-of-ha-data-in-kodi/47435
An example config for showing your Home Assistant data in Kodi, I don’t why it took me so long to getting around to this.
rss_feed_template: temperatures: items: - title: "Garden Patch: {% if is_state('sensor.garden_patch_temp.state','unknown') %}---{% else %}{{states.sensor.garden_patch_temp.state}} °C{% endif %}" - title: "Front Door: {% if is_state('sensor.miflora_5_temperature.state','unknown') %}---{% else %}{{states.sensor.miflora_5_temperature.state}} °C{% endif %}" - title: "Back Door: {% if is_state('sensor.miflora_4_temperature.state','unknown') %}---{% else %}{{states.sensor.miflora_4_temperature.state}} °C{% endif %}"
It goes into your configuration.yaml
Then under the ‘Interface’ section in Kodi, and under ‘Other’ look for ‘Show RSS news feeds’ and activate that.
Next, click ‘Edit’, remove any feeds you don’t want (a number of them are pre-installed), click ‘Add’, and enter the feed like below, amending your IP as needed. Kodi doesn’t like using ‘localhost’:
http://192.168.1.100:8123/api/rss_template/temperatures
You’ll be prompted to choose a refresh time in minutes, and then you’re set.
|
Installing the Xiaomi Vacuum
|
Windows and Android
To fetch the token follow these instructions depending on your mobile phone platform.
- Configure the robot with the Mi-Home app.
- Download and extract the MiToolKit.zip.
- Enable developer mode and USB debugging on the Android phone and plug it into the computer.
- Change the MiToolKit language to English if you need to.
- Click “Extract Token”
- On the phone, you must confirm the backup. DO NOT enter any password and press the button to make the backup.
- Once you have confirmed the backup the token extraction will begin, it should appear in the MiToolKit shortly.
- If you don’t get a token, close MiToolKit completely, delete the folder MiToolkit\apps\com.xiaomi.smarthome and relaunch MiToolKit to force recreate a new backup (sometimes the files would not be overwritten before deleting the old ones)
Then, add this to your configuration.yaml file
vacuum:
  - platform: xiaomi_miio
    host: 192.168.1.2
    token: YOUR_TOKEN
Adding zone control functionality to Home Assistant
Useful links:
https://community.home-assistant.io/t/howto-xiaomi-vacuum-zoned-cleaning/51293
In the side panel of Hassio.io, click the first button (Services) in the Developer Tools. Then for service, do: vacuum.send_command For entity: vacuum.xiaomi_vacuum_cleaner For Service Data:
{
"entity_id": "vacuum.xiaomi_vacuum_cleaner",
"command": "app_zoned_clean",
"params": [[20500,33500,17500,30500,1]]
}
Now look at the map in the Mi Home app. You should see a white rectangle drawn around the coordinates you just entered in the Call Service tool in Hass.io.
At this point, use trial and error to figure out the coordinates for each of your rooms.
Here is what the numbers mean:
20500,33500,17500,30500,1
translates to...
x coordinate of the bottom left of your rectangle
y coordinate of the bottom left of your rectangle
x coordinate of the top right of your rectangle
y coordinate of the top right of your rectangle
number of times the vacuum should vacuum the area
@AlmostSerious: quick tip, discover this yesterday… If you want to set the vacuum to mop mode, just like the app, here is a script for that:
aspirador_set_mop: sequence: service: vacuum.set_fan_speed data: entity_id: vacuum.aspirador fan_speed: 105
Fan speed 105… Very odd. You will se in the app that mop mode is selected.
Very cool!
Little tip for getting the coordinates:
Use the app Flolevac https://xiaomi.flole.de/ 36
Simply paint your Zone or your Coordinate as you would within the MiHome App and then long press on start. It will copy the whole Code you need 
Cleaning multiple rooms:
alias: "XYZ" sequence: - service: vacuum.send_command data: entity_id: vacuum.xiaomi_vacuum_cleaner command: app_zoned_clean params: [[16708,20845,29958,32195,1],[22939,31583,24789,33983,1]] |
| |

